
🍳 Are you tired of the same old kitchen routines? Imagine transforming your cooking experience with simple yet mind-blowing tricks that save time and elevate your culinary skills. Welcome to the world of healthy food hacks that will revolutionize how you approach meal preparation!
From perfectly cracked eggs to stink-free garlic peeling, these 10 ingenious tricks will make you wonder how you ever managed without them. Whether you’re a seasoned chef or a kitchen novice, these hacks are designed to simplify your cooking process, reduce waste, and help you create healthier meals with ease. Get ready to discover the secrets that will turn your kitchen into a haven of efficiency and creativity.
Join us as we explore these game-changing techniques, starting with the best way to crack an egg and ending with a clever substitute for breadcrumbs. Along the way, you’ll learn how to keep your baking sheets spotless, prevent potato browning, and even master the art of quick-soaking cashews. Let’s dive into these 10 Healthy Food Hacks That Will Blow Your Mind and unlock a world of culinary possibilities!
Best Way to Crack Your Egg
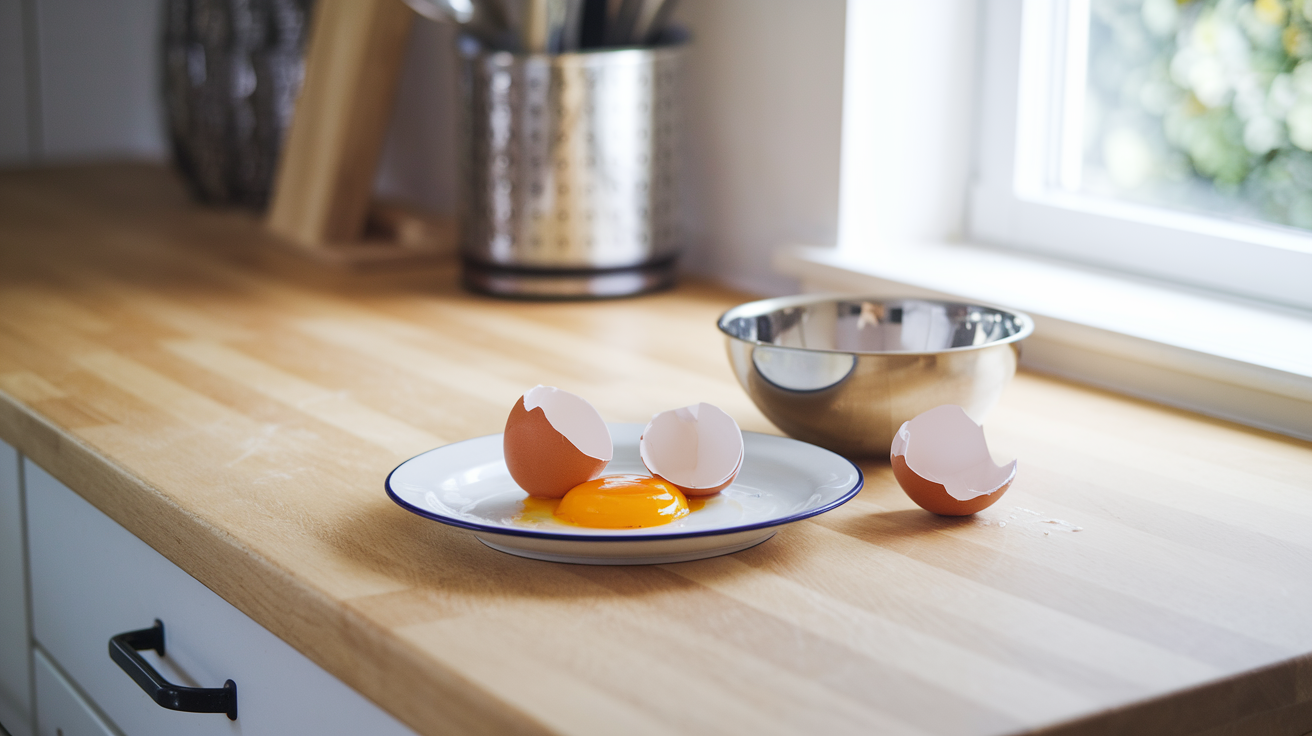
The Perfect Egg Cracking Technique
Why Proper Egg Cracking Matters
Cracking eggs correctly is crucial for:
- Preventing shell fragments in your food
- Maintaining egg yolk integrity
- Ensuring hygienic food preparation
Step-by-Step Guide to Crack an Egg
- Choose a flat surface.
- Tap the egg gently on the surface.
- Hold the egg over your bow.
- Use your thumbs to gently pull the shell apa.rt.
- Let the egg contents fall into the bowl.
Pro Tips for Egg Cracking
- Use room-temperature eggs for easier cracking.
- Crack eggs into a separate bowl before adding to your recipe.e
- Practice the technique to improve your skills.
| Cracking Method | Pros | Cons |
| Flat Surface | Less shell fragments | Requires practice |
| Edge of Bowl | Quick and easy | Higher risk of shell pieces |
| One-Handed | Impressive technique | Difficult for beginners |
Troubleshooting Common Egg Cracking Issues
- Shell fragments: Use a larger piece of eggshell to scoop out small pieces
- Broken yolk: Crack more gently and separate whites from yolks if needed
- Messy hands: Keep a damp cloth nearby for quick cleanup
Now that you’ve mastered the art of cracking eggs, let’s move on to another kitchen essential: lining your baking sheet for perfect results every time.
How To Line A Baking Sheet
The Perfect Liner: Parchment Paper vs. Aluminum Foil
When it comes to lining your baking sheet, choosing the right material can make a significant difference in your cooking results. Let’s compare the two most popular options:
| Feature | Parchment Paper | Aluminum Foil |
| Heat Resistance | Up to 450°F (232°C) | Higher heat tolerance |
| Non-stick | Naturally non-stick | Needs greasing |
| Reusability | Single-use | Can be reused |
| Cleanup | Easy disposal | Can be recycled |
| Cost | Slightly more expensive | More affordable |
Step-by-Step Guide to Lining Your Baking Sheet
- Choose your liner material based on your cooking needs
- Measure your baking sheet dimensions.
- Cut the liner slightly larger than the sheet.t
- For parchment paper:
- Crease the edges to fit snug.
- Use binder clips to secure corners if needed.
- Crease the edges to fit snug.
- For aluminum foil:
- Fold the edges around the sheet.
- Lightly grease the surface to prevent sticking.
- Fold the edges around the sheet.
Pro Tips for Perfect Lining
- Pre-cut parchment sheets save time and reduce waste.
- Silicone baking mats are a reusable, eco-friendly alternative.
- For sticky foods, consider double-lining with both materials.
Now that you know how to properly line your baking sheet, you’ll achieve better cooking results and easier cleanup. This simple kitchen hack will save you time and frustration in your culinary adventures.
Stinky-Finger-Free Garlic Peel
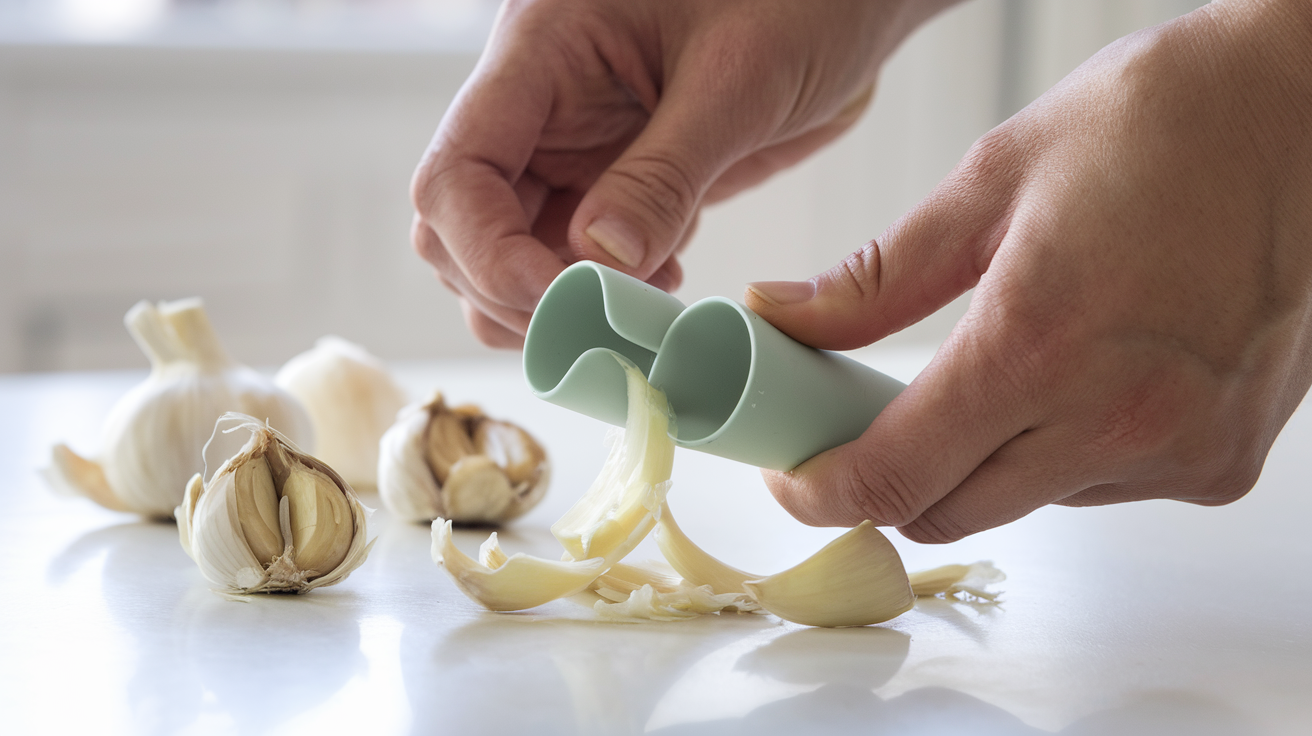
The Garlic Peeling Dilemma
Peeling garlic can be a messy and time-consuming task, often leaving your fingers smelling pungent for hours. But fear not! We’ve got a game-changing hack that will revolutionize your garlic peeling experience.
The Bowl Method
This innovative technique involves using two metal bowls to quickly and efficiently peel multiple garlic cloves at once. Here’s how it works:
- Separate the garlic cloves from the bulb
- Place the cloves in a large metal bowl.
- Cover with another metal bowl of the same size.
- Shake vigorously for 10-15 seconds.
- Open the bowls to reveal perfectly peeled garlic cloves.
Benefits of the Bowl Method
| Benefit | Description |
| Time-saving | Peel multiple cloves in seconds |
| Odor-free | Keeps hands clean and odor-free |
| Efficient | Works for large quantities of garlic |
| Easy cleanup | No messy countertops or utensils |
Alternative Techniques
If you don’t have metal bowls handy, try these other garlic peeling hacks:
- Microwave method: Heat cloves for 20 seconds to loosen skins
- Knife crush: Gently crush cloves with the flat side of a knife
- Silicone roller: Use a specially designed garlic peeler tube
With these stinky-finger-free garlic peeling methods, you’ll never dread preparing garlic-heavy recipes again. Now that we’ve solved the garlic dilemma, let’s move on to another common kitchen challenge: preventing pots from boiling over.
Stop Pot from Overflowing
The Wooden Spoon Trick
Have you ever walked away from a boiling pot only to return to a messy stovetop? Here’s a simple yet effective hack to prevent your pot from overflowing:
- Place a wooden spoon across the top of your pot
- Ensure the spoon is clean and dry.
- Position it so that it spans the entire diameter of the pot.
This technique works due to the surface tension of water. When bubbles rise and touch the wooden spoon, they burst, preventing overflow.
Why It Works
The science behind this hack is fascinating:
| Factor | Explanation |
| Surface Tension | Water molecules stick together, creating a “skin” on the surface |
| Wooden Spoon | Breaks the surface tension when bubbles touch it |
| Temperature | The cool spoon also helps to slightly lower the temperature of rising bubbles |
Additional Tips
- Use a long-handled wooden spoon for safety
- Avoid metal spoons, as they can conduct heat and become too hot.
- This method works best for starchy foods like pasta or potatoes.
Remember, while this hack is helpful, it’s not foolproof. Always keep an eye on your cooking and adjust the heat as necessary.
Now that you know how to prevent your pot from overflowing, let’s explore another time-saving kitchen hack: soaking cashews in minutes.
Soaked Cashews In Minutes
Instant Cashew Soaking: A Game-Changer for Quick Recipes
The Traditional Method vs. Quick Soak
| Method | Time Required | Texture | Best For |
| Traditional | 2-4 hours | Very soft | Creamy sauces, cheeses |
| Quick Soak | 15-30 minutes | Softened | Smoothies, dressings |
Step-by-Step Quick Soak Technique
- Boil water in a kettle or pot
- Place cashews in a heat-safe bowl
- Pour boiling water over cashews (1:2 ratio)
- Let sit for 15-30 minutes.
- Drain and rinse with cold water.
Benefits of Quick-Soaked Cashews
- Time-saving for last-minute recipes
- Improved digestibility
- Enhanced nutrient absorption
- Softer texture for blending
Quick-soaked cashews are a versatile ingredient in plant-based cooking. They can be used to create creamy textures in vegan dishes without dairy. This method is perfect for those times when you forget to soak cashews overnight but still want to whip up a delicious cashew-based recipe. The quick soak technique allows you to have softened cashews ready in a fraction of the time, making it easier to incorporate this nutritious nut into your meals. Next, we’ll explore another time-saving kitchen hack that will keep your potatoes looking fresh and appetizing.
How To Prevent Potatoes From Browning
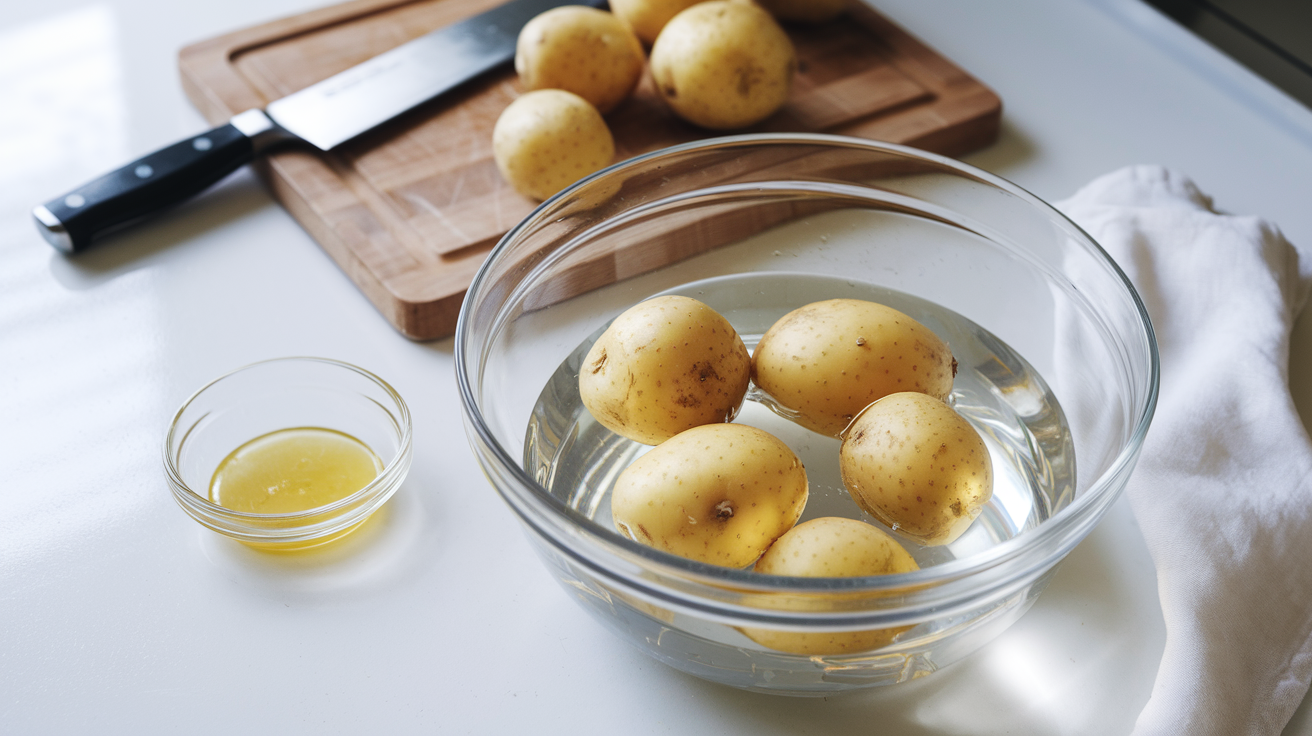
Prevent Oxidation
When it comes to preventing potatoes from browning, the key is to understand the science behind oxidation. Potatoes contain an enzyme called polyphenol oxidase, which reacts with oxygen and causes discoloration. To keep your spuds looking fresh, try these effective methods:
- Cold Water Soak
- Lemon Juice Treatment
- Vacuum Sealing
Cold Water Soak
The simplest method to prevent browning is to submerge peeled or cut potatoes in cold water. This creates a barrier between the potato’s surface and oxygen, effectively slowing down the oxidation process. For best results:
- Use cold water, as warm water can encourage bacterial growth
- Change the water every few hours if storing it for an extended period.
- Refrigerate the bowl of potatoes in water for up to 24 hours.
Lemon Juice Treatment
Lemon juice is an excellent natural preservative due to its high acidity. The citric acid in lemon juice lowers the pH of the potato’s surface, inhibiting the enzyme responsible for browning. Here’s how to use it:
- Mix 1 tablespoon of lemon juice with 1 cup of water
- Brush the solution onto cut potato surfaces or soak slices for 5 minutes.
- Pat dry before cooking or storing.
Vacuum Sealing
For longer-term storage, vacuum sealing is a game-changer. By removing air from the storage container, you eliminate the oxygen that causes browning. This method is particularly useful for meal prep:
| Advantages | Disadvantages |
| Extends shelf life | Requires special equipment |
| Preserves flavor | Initial cost of vacuum sealer |
| Saves space | Not suitable for immediate use |
By employing these techniques, you can keep your potatoes looking fresh and appetizing for longer periods. Next, we’ll explore how to transform everyday crackers into a versatile ingredient for your culinary creations.
These simple yet ingenious food hacks can revolutionize your cooking experience, making it easier, more efficient, and even more enjoyable. From cracking eggs perfectly to preventing pots from overflowing, these tricks cover a wide range of kitchen tasks. By incorporating these hacks into your daily routine, you’ll save time, reduce waste, and enhance the quality of your meals.
Don’t be afraid to experiment with these techniques and make them your own. Remember, cooking should be fun and rewarding. With these healthy food hacks in your arsenal, you’ll be well-equipped to tackle any culinary challenge that comes your way. Happy cooking!
10 Life-Saving Anti-Inflammatory Supplements


Pingback: Warning : Healthy Snack Sparks Social Media Frenzy!